





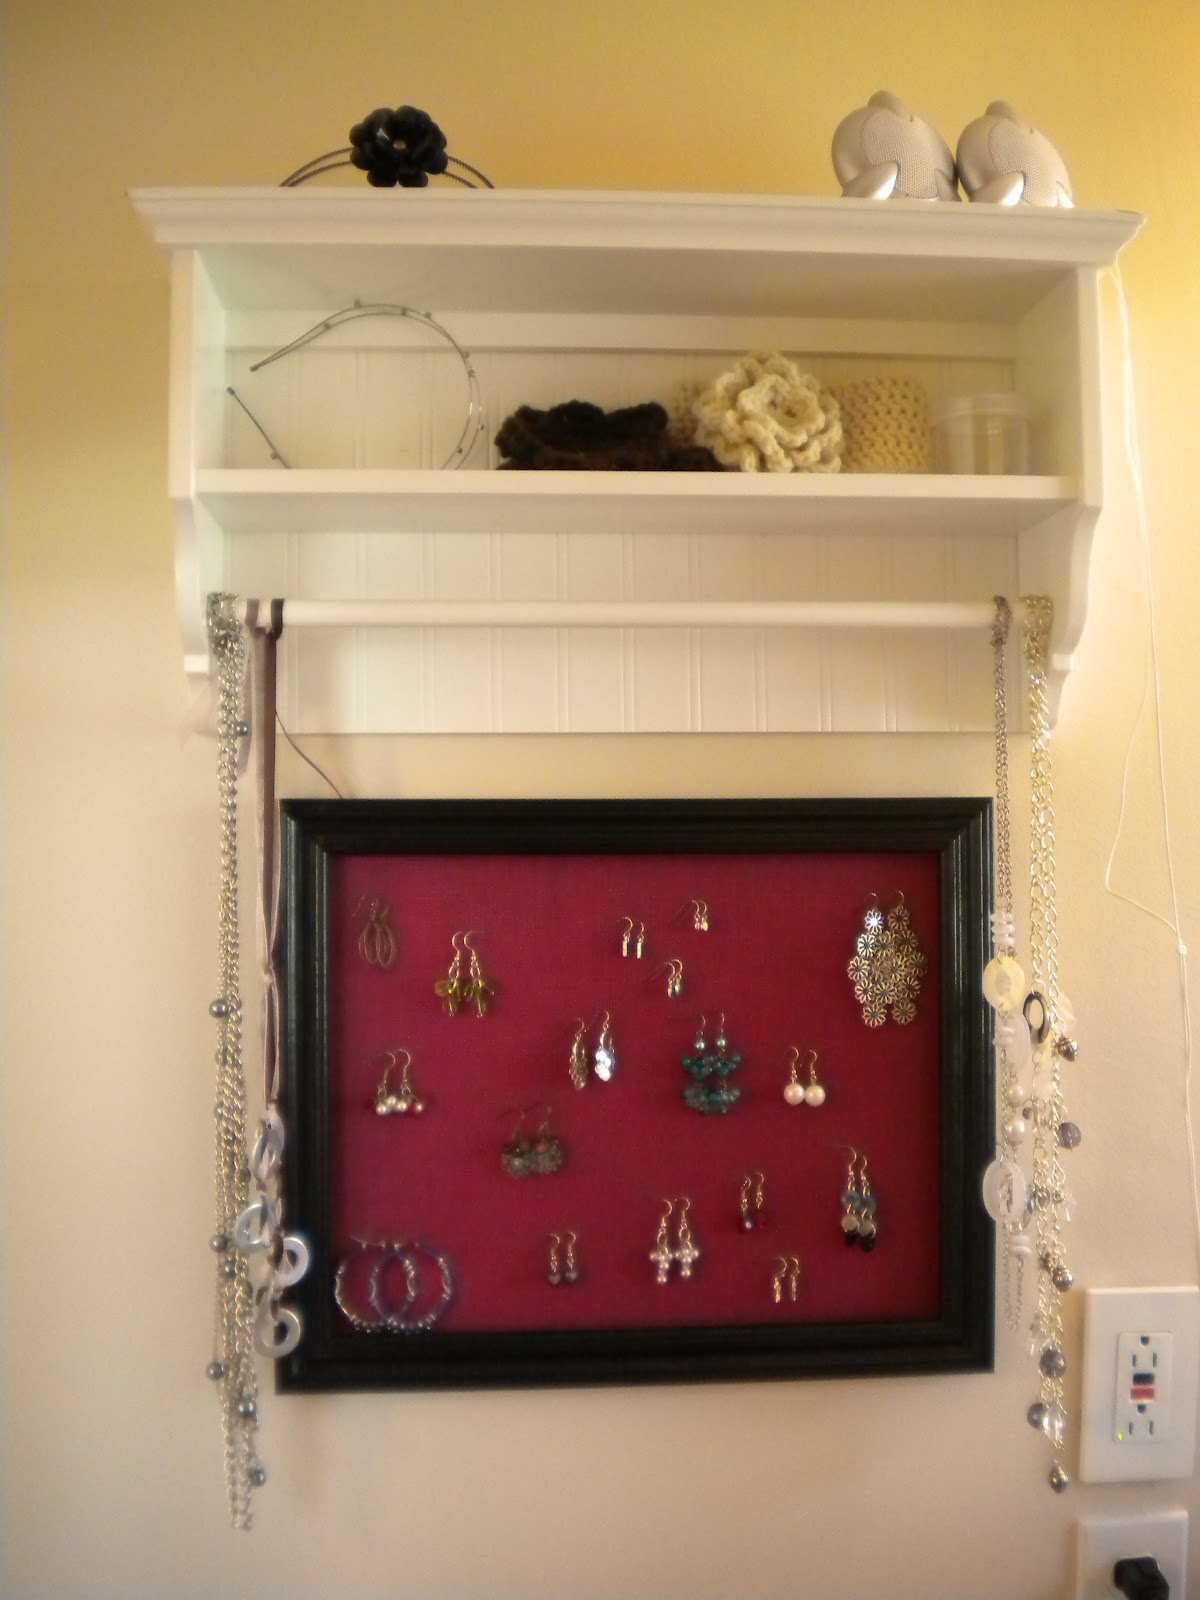


 I love DIY projects that save a lot of money. Lately I have been working hard on birthday and Christmas gifts. This is one that I made to hold earrings. I just went to the thrift store and found an awesome frame that I painted black after taking out backing and glass. I went to Lowe's and bought fiberglass screening - like is used in your windows. : D I got a whole roll for about $6. My rotary cutter even worked on it. (It is not the metallic screening, it is a lot softer and pliable.) I cut it to cover just short of the entire back of the frame and hot glued it into place. Then I chose some brightly covered fabric, cut to fit the entire back of the frame, stretched and glued. Make sure you have a bracket to hang it on the wall with. Either get a frame with one already on it and cut your screen and fabric around it or buy one for about 30 cents and hot glue it on.
 This necklace was so fast and easy and it was very inexpensive! All you need is ribbon and washers. That's right, washers! You can pick them up in the home improvement section of the store and get about ten for $1.50 or so in many different sizes. The necklaces look great with either all one size washer or a mix. Just weave two different pieces of ribbon through the washers, tying a knot between each one to hold it. I choose to put two knots a little farther up the ribbon as well to make the look come together.
 Good deal through Saturday, Sept 3 - usually 3.99 a box on sale for 1.99. I love these photo boxes! I use them for everything. I have all sorts of them to sort out scrapbook elements, sewing materials, stamps, ribbon and other crafting supplies, my pictures, decorations or other odds and ends. These will be so cute in Baby's room.
 Take the little brackets off the back...
 A little paint. I like gloss...
 Voila! My bathroom drawer was getting really messy, so I used it for all of my hair pins and barretts as well as a bracelet. It is small enough that it doesn't take up any room but looks nice and keeps things in their place. Try it for hair accessories, jewelry, buttons, beads, etc.

 I didn't even need any jewelry making tools. I have shied away in the past because I didn't want to spend money on fancy pliers and expensive beads. I just needed a few inexpensive jump rings, the actual posts and some buttons.
 Just organize them in some sort of pattern that you might like. Don't stress over it, it will look different when everything hangs and you can rearrange as you go.
  I just used my fingers to open the rings and put everything together...


 I had an epiphany one night as we were going to bed and decided that I would embroider on some of the squares that didn't have seams or pockets and such. I want to do some hearts as shown below...
 I want to spell our names and the year that we were married. I didn't want to leave the baby out so I was going to put her name too but realized that future kids would feel a little left out of the family picnic blanket. So I am leaving enough blank ones to put each child's name in one square of their own, but then making each child their own blanket with their name on it. I'll start with ours and see how far I get! : D Progress pictures to come...

