Showing posts with label fall. Show all posts

Tuesday, November 3, 2015

Mini Cheesy Turkey Shells...


        This is the picture that popped up in my "memories" from Facebook this morning! Two years ago today we were enjoying our first snow fall! You would have to know my family to really understand the disappointment today's mere rain showers are bringing! I promised my hubby a snow dance before he left the house for the day. Channeling ancient Winnebago Indian powers....... Just kidding, but really we are on pins and needles. 

     You could say we bleed ski doo. Its an old family tradition passed down through many wintery generations. The past few Utah winters have been... meh! We have had snow of course, but it has been years since we got a good dumping.

     So as I sit here with my hot chocolate and Ludo omelet... Did you watch "What Phil is having" last night? He is a riot! The little one is busy with "homework" and AM 1390 has been transformed into the annual holiday station fittingly playing "Let it snow"... I realize just how ready for the season I am. Yesterday the little and I got a jump on Christmas shopping. Putting the horse before the cart as usual, because first of course is turkey day! Our family will have the opportunity to host, and I couldn't be more excited. Stuffed with the fixings, blissfully content as we welcome the holidays! I can hardly contain myself waiting for time spent with my little family away from the hub bub. 

     Just in case you are feeling like me today, lets talk turkey! Lets take it a day at a time. A holiday at a time. Here is a turkey recipe to rein the emotions back in....  

My intention was turkey pot pie but I ended up with a "cheesy turkey shell" due to my poor planning and not purchasing enough pie crusts to top these tasty little things!

Try them out my kiddos and husband loved them! You cannot go wrong with a creamy white sauce and cheese! You will need:

1/4 cup butter or margarine
3T. finely chopped onions
3T. finely chopped celery
3/4 tsp. salt
1/4 tsp pepper
1/4 cup flour
2 c. milk
paprika
two 9" pie crusts
about a cup each of your choice in veggies
and of course turkey!

    Preheat oven to 375. In a medium saucepan, melt butter. Add onions, salt, pepper and celery. Saute until tender. In a separate saucepan bring your diced mixed veggies to a boil. Do not overcook them! They will cook in the oven, so you want them slightly crunchy. Once your onions and celery are tender add flour and cook over low heat, stirring constantly until thickened. Stir in milk and bring to a boil. Boil one minute then remove from heat. Stir in your veggie mix and your turkey...diced or shredded will work!


1. Roll out the pie crust. Using a cookie cutter or kitchen glass cut out 12 circles.
2. Place pie crust circles into greased muffin tin.
3. Load them up with your turkey mix! Don't be afraid to fill them up as they will cook down in the oven! Top with cheese.

                   Top with shredded cheese and paprika. Bake uncovered for 15-20 minutes.

Enjoy!

Tuesday, October 27, 2015

Tulle Mermaid Tail...

   Tulle and hot glue have always been kind to me. Seriously if the house was on fire I would grab the kids, family pics, my craft bins and my glue gun... Maybe some clean underwear if there was time to spare.


     There was the seven (fingers bleeding by the end) Peter Pan fairy costumes. Two Halloweens ago an adorable Hoot Owl . Last years Olaf and Elsa. Tulle and I are friends. Inexpensive, easy, with endless possibilities....

   This year the baby doll has been dreaming. Dreaming of mermaids... or "wormaids" as she pronounces it. She is dreaming of red flowing hair and a shiny green tail. However, one thing I truly cannot stand about tulle is how messy bunches of it can get. I have tried everything to keep it from bunching up. Its usually a catastrophe. The Elsa dress was fabulous, but by the end of the night it was a ball of static electric leaves and crud.

    I kept thinking about this as I began to formulate a plan for the wormaid tail of a little girls dreams. After playing around a bit... this is what I came up with. I used this technique for fairy costumes and it was a hit. I have had numerous dance teachers ask how this was done. I am finally getting to posting a tutorial. By far my favorite. A little tedious, but totally worth it! The best thing (besides its not a fluff ball) is that she can use this tail for dress up after Halloween!

Supplies needed:
For a child size tail.
*4-6 rolls of 25 yard tulle. You can do solid colors or mix up a few.
*Safety pins
*Measuring tape or ruler
*Sewing thread and needles
*Scissors
*Hot glue gun and sticks
*Ironing board. Not necessary, but will make life much easier.

1. Start by taking two measurements. One of the waist and one from the waist to the floor. Add a few extra inches to both of these so the waist can be tied in a fancy bow and you have material to work with on the bottom. Double the waist to floor length so you can fold the material in half, securing it to the waist piece in a slipknot. This is how a basic tulle skirt is fabricated. If you are new to skirt tying Ben Franklin Crafts has a quick and easy tutorial here. Use your waist to floor measurement to cut multiple strips before beginning to tie.


 2. You can tie all of your strips onto the waist band first or take it in sections. I find sections easier. You will be braiding three strands and stitching braids together. The excess tulle will get in the way. Its really up to you. I have done it both ways.

   3. Taking three strands create a braid. Keep even tension. Use a tape measure or ruler to decide where your braid will end and the flared portion of the tail will begin. I like to use safety pins to secure the bottom until they are stitched together. This will also help you keep your braid ends consistent and even.

  4. Take two completed braids, secure your thread at the top of the braid closest to the waist band and use a simple whip stitch to bind the braids together. When you get to your safety pin at the bottom whip stitch the ends of the tulle braids as well to prevent them from coming undone. The third picture in the frame below shows how this is done. Each braid has a straight line of stitching along the bottom.


     5. Secure the end of your thread. I found that the bottom was not quite thick enough, and could be fluffier. Simply add an additional strip of fabric to the backside of the skirt as shown above.


  6. Continue tying, braiding, stitching (I just noticed the typo in my photo) and gluing until the desired width is achieved. Once it is wide enough to go around that wiggly little body you are done! You can stop there, or flip it over to the front and add some bows and additional length and thickness on the front. Your little one will adore you! Tie the excess tulle on the waist band into a fancy bow. I did not apply fixed fasteners on the back. I found looping extra tulle through the braiding secure, adjustable and flexible enough for her to run around in! Trim any long pieces from the bottom.

 
    The stitching portion could be done with a sewing machine for added strength, or just to be a bit quicker. Someone more talented than myself with the sewing machine could probably accomplish this. I found the sewing machine difficult. Once you get the hang of it, the whip stitching goes pretty quick!

    What is your go to material? Have a safe and Happy Halloween!

Tuesday, October 13, 2015

A Family Favorite! Easy Peasy Sweet and Sour Chicken!

    The baby is eating eggs and crunchy, crumbly toast in our bed, my side this time. The washing  machine is whirling and twirling around the first of at least five hundred loads of laundry. The gorgeous fall sun is warming up the house and soul. Kiddos are off to school, besides the one littering the bed sheets with tiny toast crumbs of course. My amazing guy is out the door for the day. Its just me, my coffee, Dr. Meredith Grey (How did life exist before Netflix anyway?) poised to take on the day!

    Ahhhh! The quiet lull in between the summer and the holidays. A few quiet weeks between mayhem. Local pumpkin walks with toasty mittens and melty hot chocolate. Leisurely afternoons with my best girls. Perhaps that's really why I prefer Fall? Besides the warm aromas. Crisp morning air filling your morning run lungs. Beautiful scenery..... and on and on. Fall really is special. Last week as we bribed and begged with the little one to smile and pose one more time for the 2015 family photo spectacular, I mused about the year that has so quickly passed us by. Time as usual is flying by.

    All we can do is cherish today. Savor these minutes that will come, and most assuredly go.  Sit down together at the family dinner table and remember this day, this season. The times their faces aren't glued to their phones. The statistics on family dinners are amazing. After the world has its way with your family, welcome them home with a favorite. Enjoy the quiet times in between the whirlwind of life. Here is one of our favorites. From our family to yours!


                                                      Sweet and Sour Chicken


    You will Need:
For the sauce
* 1 cup sugar
* 1/2 cup vinegar
* 1/4 cup pineapple juice
* 1/4 ketchup
* 1 T soy sauce
* 1/2 t salt
* 1/2 cup pineapple chunks
* (optional) diced onions and peppers

For the chicken
* 4 chicken breast cut into bite size pieces
* 3 eggs slightly beaten
* 2 cups flour
* salt
* pepper
* olive oil

Directions:
Pre heat oven to 350. In a large skillet heat about a tablespoon of olive oil. In batches, dip the chicken pieces in the egg first followed by the flour. Make sure the pieces are well coated. Place them in the large skillet season with salt and pepper and allow them to brown, flipping occasionally. After browned place in a baking pan in a single layer.


       Allow the crust to set for about 10 minutes while you prepare the sauce. In a small saucepan, mix all of the ingredients. Heat the sauce over medium heat until the sugar is dissolved and sauce is bubbly. We prefer a little extra sauce. This sauce will thicken in the baking process. If you would like a little extra sauce for dipping, simply double or repeat the sauce recipe.


    Once sauce is prepared pour sauce and pineapple chunks over chicken. If you doubled recipe, only use half of the sauce over the chicken. Place chicken in the oven and bake for one hour. To keep the chicken coating crisp, allow the chicken to bake for at least 35 minutes before flipping. While the chicken is baking start your rice cooker!


 Enjoy! I'm off to fold laundry. Sweep the bed. Snuggle a lil one while we work on the alphabet. Perhaps grab a shower.... Bring it on Tuesday!

Wednesday, October 7, 2015

Pumpkin buttercream? Yes! Please, and thank you!


    I have been having a lot of fun with buttercream lately. Tis the season! Birthdays and celebrations all around, but more importantly pumpkins abound! One cannot login to Facebook without an inundation of pumpkin spice jokes, recipes, and photos. I am by no means a pioneer to the buttercream society. Just dabbling in the joys of creation. Nibbling away at spoonfuls of elation. Turning to tabata in the mornings to keep up with this dangerous habit!

    Last week the lil one and I stood in the kitchen with satisfied grins as we licked the Nutella buttercream beaters clean! This beautiful fall crisp morning, after a few days of recuperating from a wonderful head cold, little and I were feeling ambitious! Working with what we had on hand it was decided warm, flaky, soft centered sugar cookies would be our contribution to the day. Having no cream cheese or traditional ingredients on hand my mind wandered to the stockpiled cans of pumpkin puree.

    A quick Google search confirmed it was possible! I played around with it a bit to create a frosting that would win the hearts of men, women, and children alike! Woah! Cold medicine high! Whip up a batch of your favorite sugar cookies, or chocolate cupcakes, or whatever you fancy! Slather them in orange pumpkin goodness! Our sugar cookies taste like mini ,buttery, melt in your mouth pumpkin pies! Enjoy!

1 cup pumpkin puree (not pie mix)
1/2 cup unsalted sweet cream butter at room temp
1tsp vanilla
1tsp cinnamon
3-5 cups powdered sugar

    With a paddle attachment combine the pumpkin, butter, vanilla and cinnamon. Once it is well combined begin adding powdered sugar 1/2 cup at a time. Mix after each addition. You may notice pearls of butter not combining well with the pumpkin. This will not be noticeable in the completed butter cream. Add powdered sugar until the desired consistency is reached. Once consistency is achieved allow the buttercream to whip for and additional 3-5 minutes. This recipe covered 30 sugar cookies with a luscious thick layer!


Friday, September 26, 2014

Got a minute....

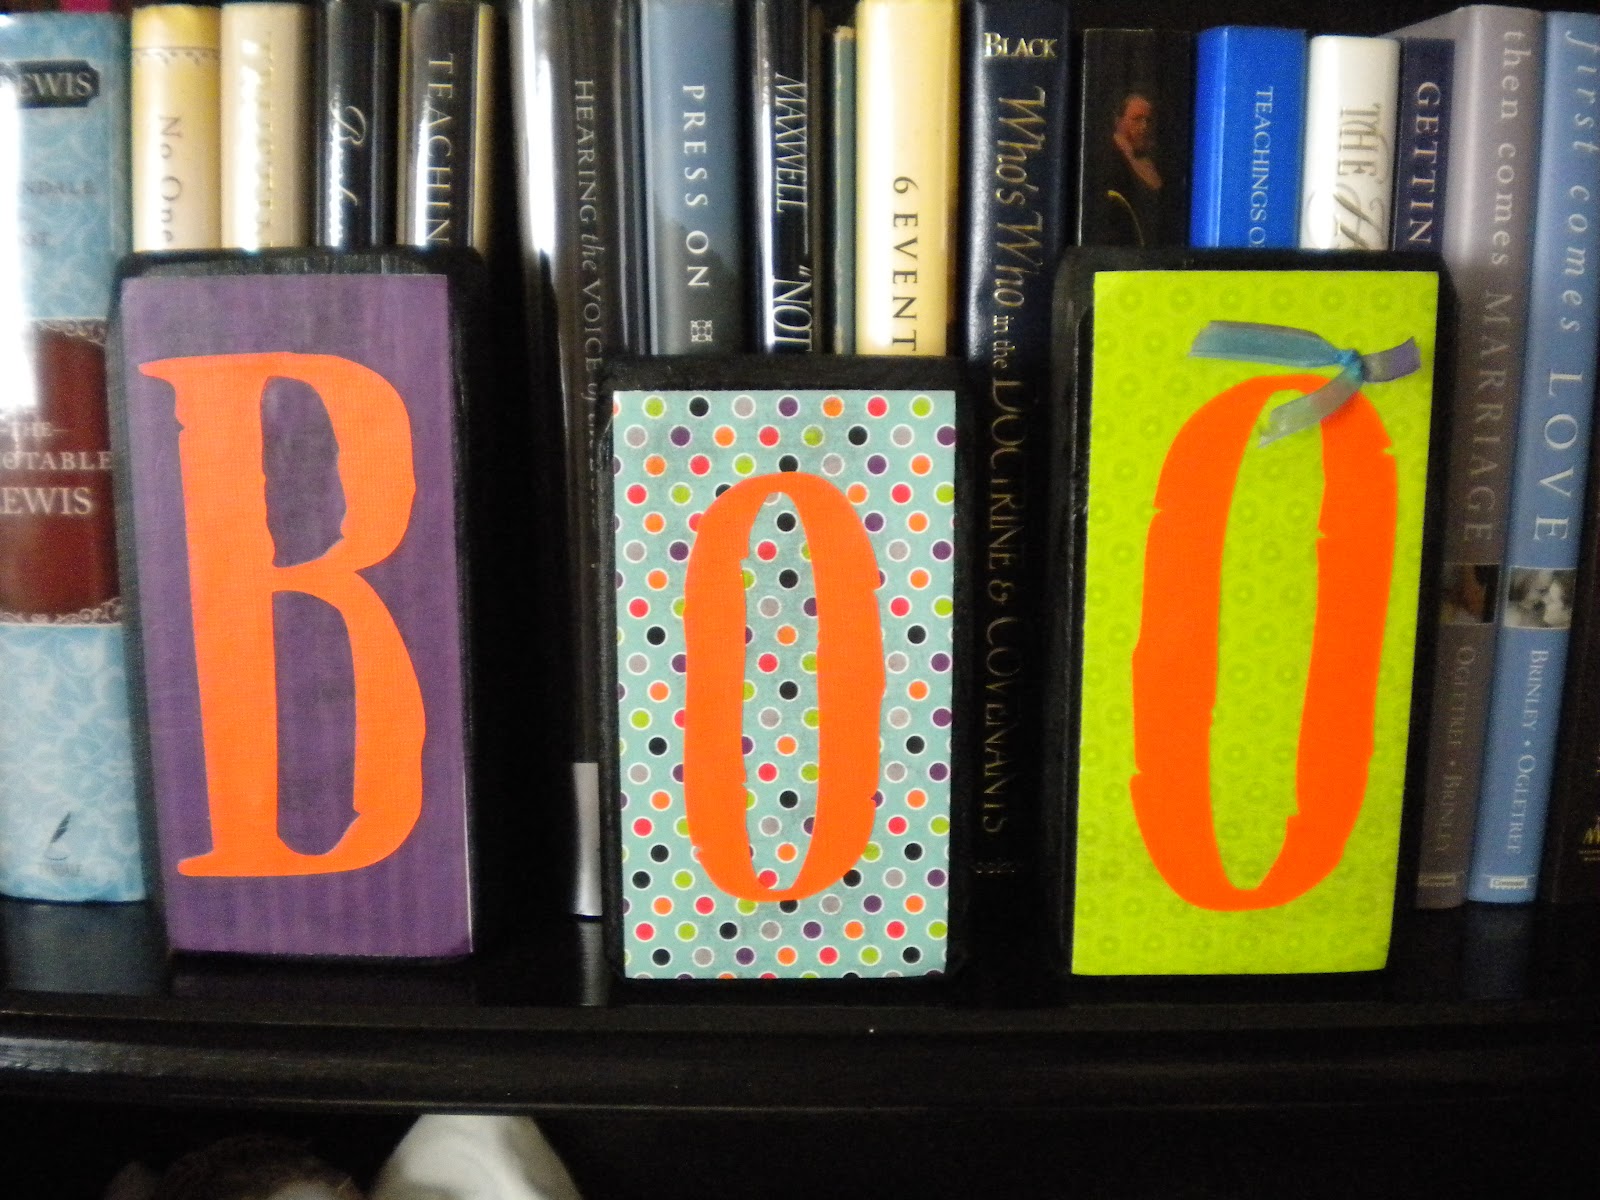
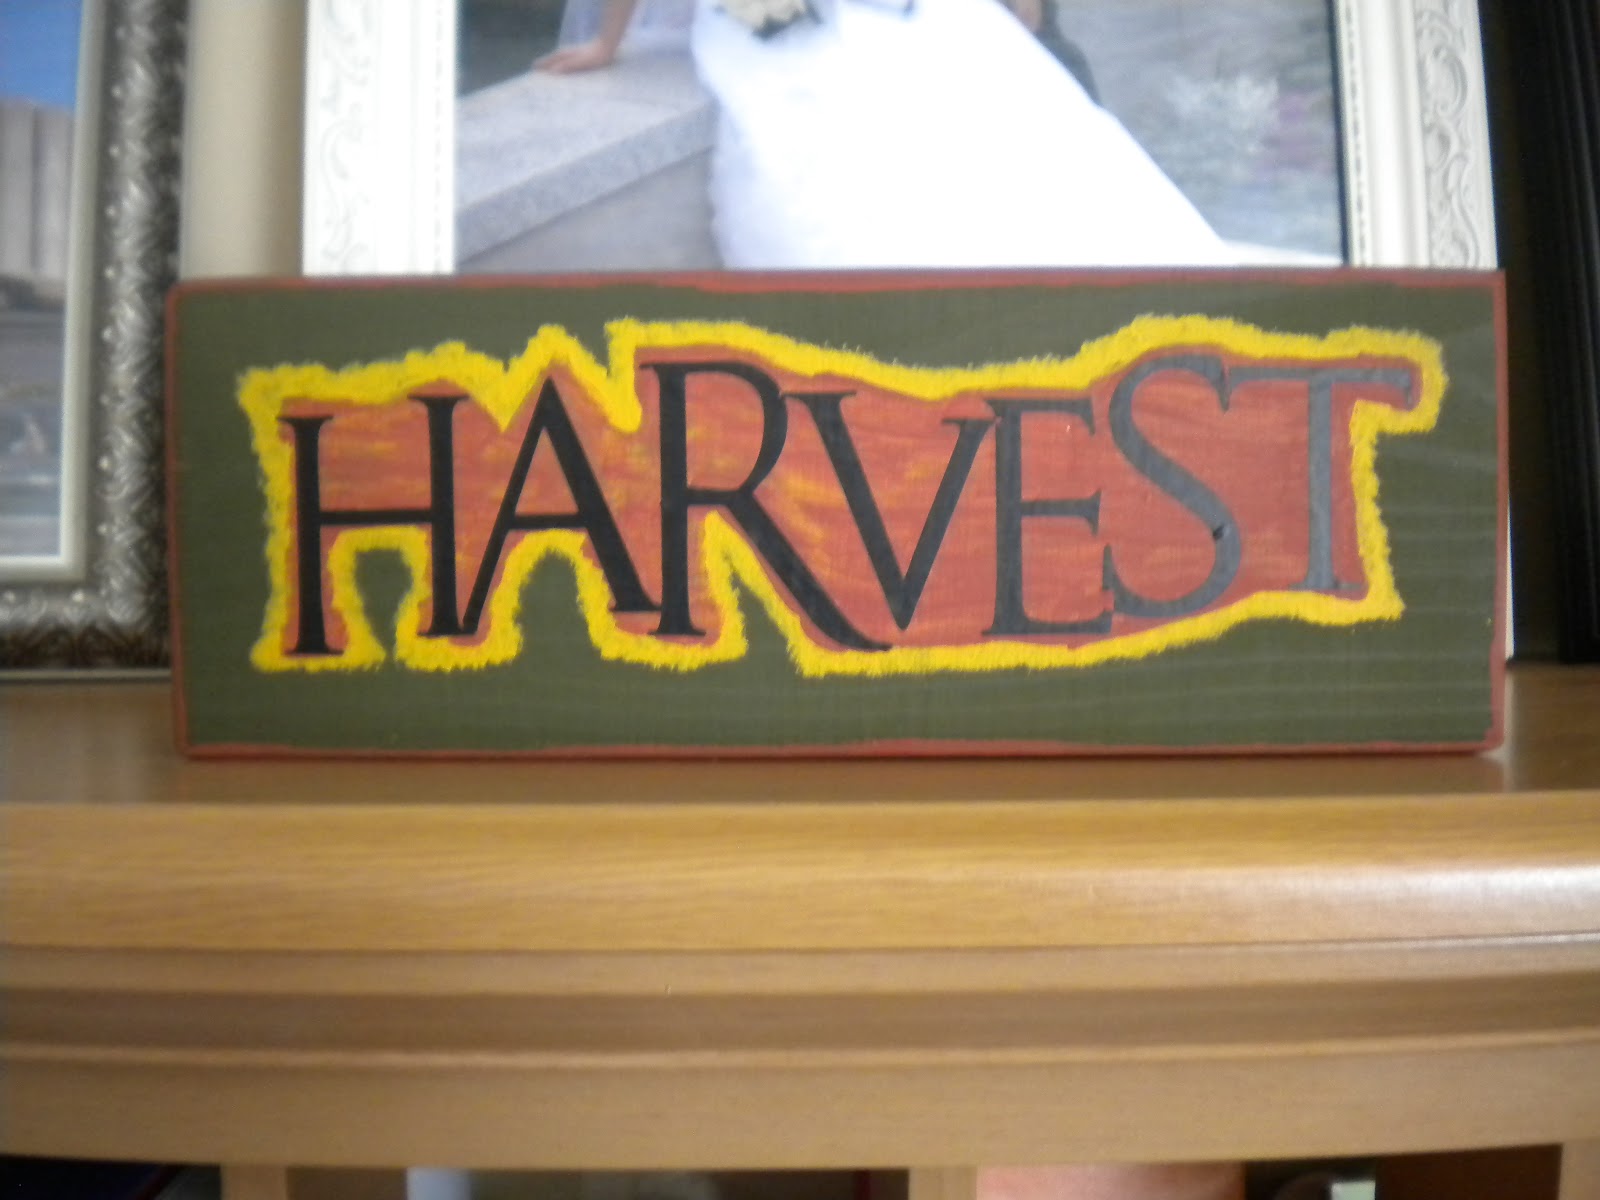
Fall is officially here! Time to get to work! True to fashion, or blog style. I have looked around the house to come up with this quick inexpensive decorating idea! My cost was $0.00! Using some imagination and what you have laying around, is hands down the best way to begin your Fall fun! Next time you are tossing out recycleables... give them another look! Enjoy!

Monday, October 31, 2011

Fall Fun Around Our Home

 In honor of the day, I thought I would take a few snapshots of things around our house. Found these candles and thought they looked fun, smell festive too!
 Pumpkin carving!
 Owls...


 Silly face caramel apples!

Related Posts Plugin for WordPress, Blogger...